LED panels are one of the most useful lighting options for homes, offices, and retail spaces. Their unobtrusive design, uniform light distribution, and low energy consumption make it possible to illuminate large areas without resorting to bulky fixtures or creating overly pronounced shadows.
Although their installation may seem simple, the procedure varies considerably depending on the type of ceiling and the characteristics of the panel itself.
What is an LED panel, and what components does it include?
An LED panel is a flat light fixture designed to distribute light evenly over a large area. It typically consists of a frame, a diffuser plate, an internal optical system, LED modules, and a driver responsible for converting and regulating the electrical current.
Most LED panels operate using an external driver. This component receives alternating current from the electrical system and converts it into the direct voltage and current required by the LEDs.
Productos recomendados
Ver Productos
Ver Productos
Ver Productos
Ver Productos
Types of LED Panel Installation
How an LED panel is installed depends mainly on the type of ceiling available. The most common systems are recessed mounting, surface mounting, and suspended installation.
Recessed installation in a drop ceiling
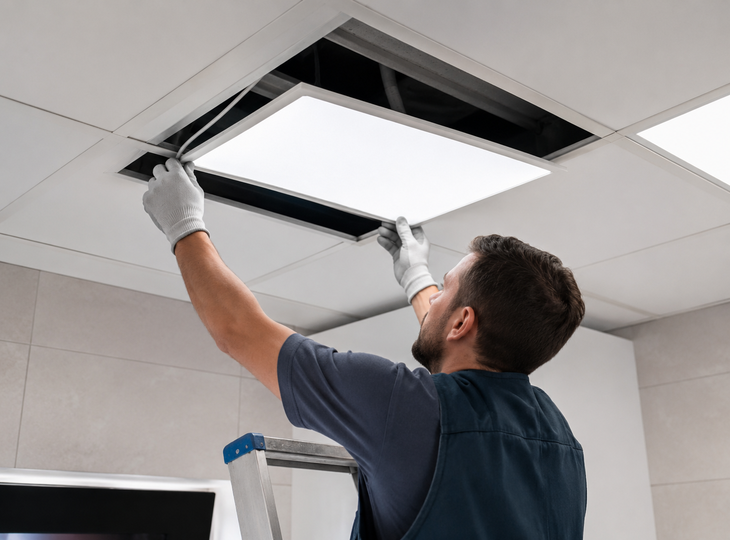
This is the most common option for lighting in offices, retail spaces, and kitchens with drop ceilings. The LED panel is integrated into the surface, practically flush with the rest of the ceiling, providing a clean and unobtrusive finish.
This system includes accessible or removable suspended ceilings, consisting of modular panels that can be removed to access the wiring. In these cases, the 60 × 60 cm LED panels are installed directly onto the metal framing, replacing one of the ceiling panels, without the need for a recessed frame.
In continuous suspended ceilings, such as those made of drywall, it is necessary to cut an opening of the appropriate size and use a mounting accessory or frame compatible with the panel. This element allows the light fixture to be properly secured and keeps it flush with the surface.
Surface Mounting
This type of installation is used when the ceiling is solid or there is no space to recessed-mount the light fixture. The panel is placed inside a metal frame secured directly to the ceiling.
The frame creates a small gap between the panel and the surface, allowing the driver and electrical connections to be concealed. It is a suitable solution for concrete, brick, wood, plaster, or drywall ceilings.
Suspended Installation
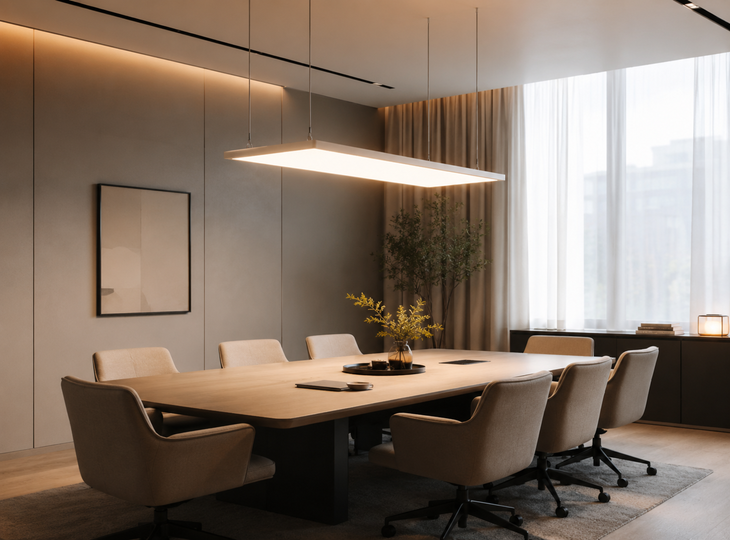
In this case, the suspended LED panels are hung using adjustable steel cables. The system allows you to adjust the height of the fixture and create lighting that is closer to the work area.
This is common in offices, meeting rooms, reception areas, and spaces with high ceilings. In addition to serving a practical function, it can provide a more pronounced decorative effect.
Precautions to Take Before Installing an LED Panel
Proper planning prevents many of the problems that can arise during installation. Before working on the electrical system or drilling into the ceiling, it is advisable to perform several checks.
Review the manufacturer’s instructions
Each panel may use a different connection or mounting system. The manufacturer’s instructions take precedence over any general procedures, especially regarding the driver, cables, and safety clearances.
If it is a dimmable LED panel or the model allows for color temperature adjustment, remote control, or connection to a home automation system, you may need additional cables or components.
Check the dimensions
It is necessary to verify both the exterior dimensions and the space required for installation. In a suspended ceiling, the panel must be compatible with the opening or the available modular structure.
For surface-mounted installations, you must also ensure that the frame is the correct size and that there is enough space to accommodate the driver without pressing it against the cables.
Choosing the Right Location
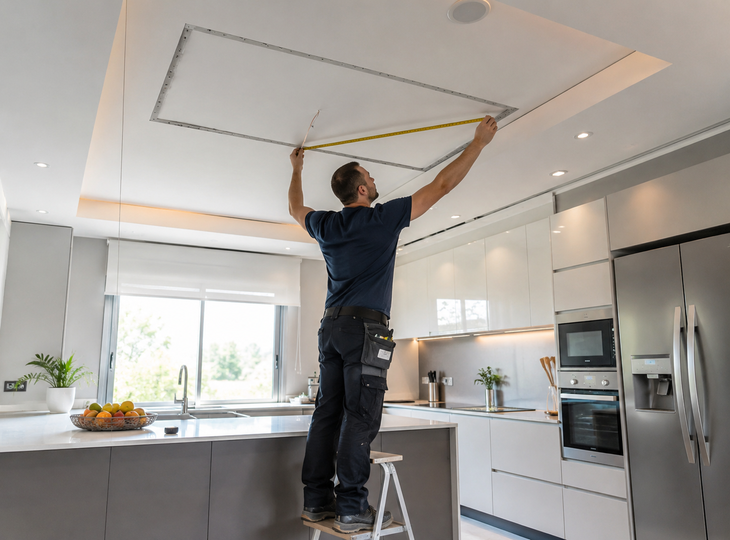
The panel should be placed in an area where it can distribute light evenly. Before drilling, it’s a good idea to check the position of tall furniture, beams, and other elements that could block the light.
You must also ensure that no pipes or cables run through the planned drill holes. When the route of concealed installations is unknown, it is advisable to use a material detector.
Turn Off the Power Supply
Before touching any wires, the corresponding circuit must be disconnected at the electrical panel. Simply turning off the wall switch does not guarantee that all wires are de-energized.
Once the circuit has been disconnected, verify that it is de-energized using an appropriate voltage tester. Low-voltage electrical installations must be performed using appropriate materials and in compliance with applicable safety standards. When it is necessary to modify fixed wiring, create a new light fixture, or if there are any doubts about the installation, the work should be entrusted to a professional.
What You Need to Install an LED Panel
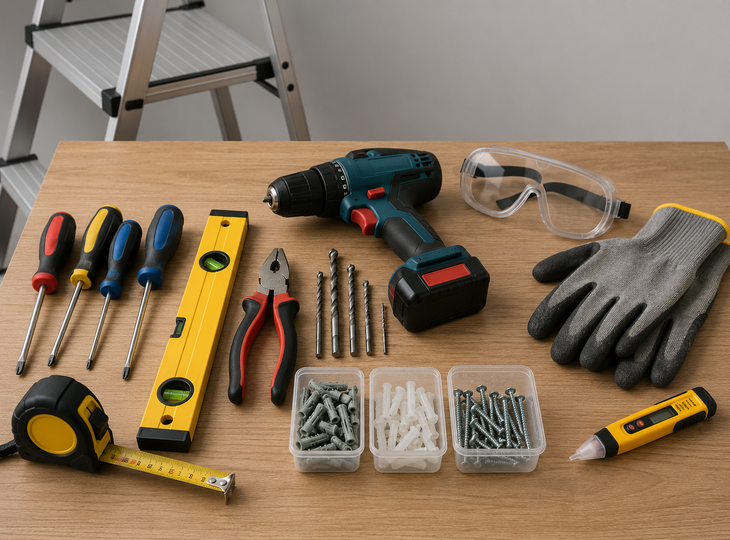
Before beginning the installation, it is a good idea to gather the necessary tools and materials. You will generally need screwdrivers, a drill with appropriate drill bits, wall anchors, screws, pliers, a tape measure, a level, and a voltage tester. It is also important to have a stable ladder and protective gear, such as gloves and safety glasses.
Depending on the type of installation, you’ll also need a surface-mount frame or recessed mounting clips. Both the anchors and screws should be selected based on the panel’s weight and the ceiling material, since a fastener suitable for concrete may not be appropriate for a drywall panel.
Before making the connections, you should also verify that the driver is compatible with the panel. Even if two models have similar connectors, a difference in their electrical specifications can cause malfunctions or damage the LED modules.
How to Install an LED Panel in a Removable Drop Ceiling
Installation in a drop ceiling is one of the quickest processes, especially when the panel’s size matches that of the existing panels.
1. Turn off the power
The power must be shut off at the electrical panel, and you must verify that there is no voltage in the light fixture’s wires.
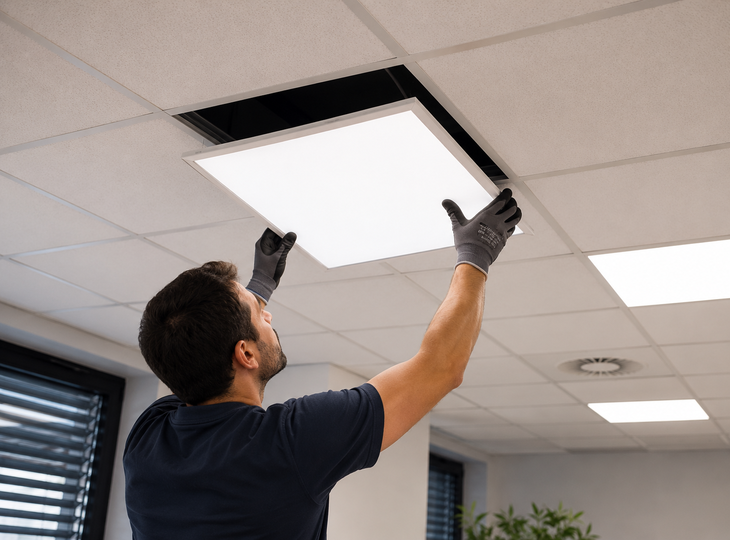
2. Remove a panel from the drop ceiling
Lift the corresponding panel slightly and remove it by tilting it carefully. The metal framework must be exposed to allow for the installation of the panel.
Before continuing, check that the metal framework can properly support the weight and is not deformed.
3. Prepare the driver
The driver must be connected to the panel using the appropriate connector. Normally, this connection is already pre-wired, and you only need to connect the two terminals.
The driver must not rest on the diffuser or be pressed against the light fixture. It must be placed on a stable surface, following the manufacturer’s ventilation instructions.
4. Make the electrical connection
The installation wires are connected to the driver’s input. Typically, the live wire is identified by the colors brown, black, or gray, while the neutral wire is usually blue. The ground wire is normally represented by a green and yellow wire.
However, you should never rely solely on a wire’s color; the identification must be verified using appropriate instruments
.
Connections must be made using appropriate electrical connectors. No exposed splices should be left, nor should temporary solutions be used.
5. Install the panel
The panel is inserted at an angle through the opening and then rested on the mounting rails. It must be properly centered, stable, and fully secured on all four sides.
The wiring and driver are placed at the top, ensuring they are not taut or trapped between the light fixture and the structure.
6. Restore Power
Once the installation has been checked, the circuit can be reconnected and the panel turned on. Ensure that the light is steady, that there is no flickering, and that the driver does not emit any abnormal noises.
How to Install an LED Panel on a Surface-Mounted Ceiling
Surface-mount installation is the most common option when it is not possible to cut a hole in the ceiling. To do this correctly, you need a frame compatible with the panel.
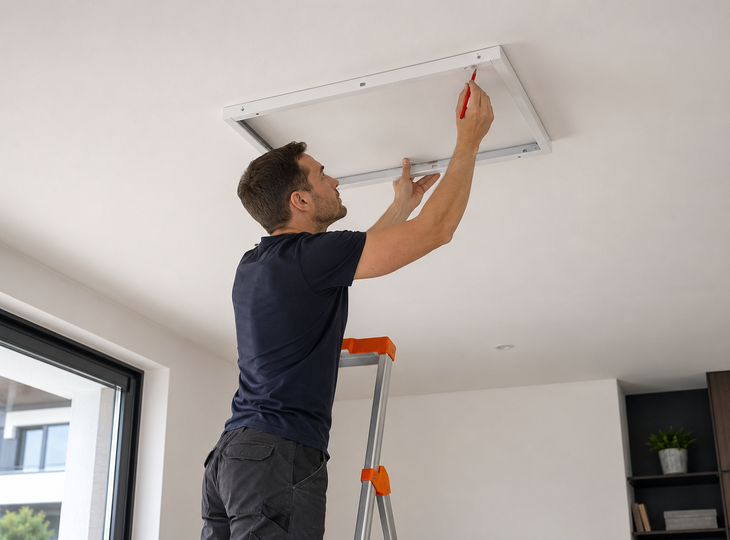
1. Position and mark the frame
Place the frame on the ceiling and use it as a template to mark the drilling points. Check its alignment using a level.
Before drilling, verify that there are no hidden utilities in the area.
2. Select the anchors
For concrete or brick ceilings, use appropriate expansion anchors. For drywall, use anchors specifically designed for hollow panels or, whenever possible, secure the frame to the structural studs.
The load-bearing capacity of the anchors must be sufficient to support the assembly consisting of the frame, the panel, and the driver.
3. Assemble part of the frame
Many frames are supplied unassembled. Typically, three sides are secured to the ceiling, leaving the fourth side open so the panel can be slid into place.
However, the process may vary, so follow the instructions specific to your model.
4. Make the connections
With the power turned off, connect the driver to the power supply and to the panel. Place the driver and connectors inside the frame, making sure they do not block the light fixture’s opening.
The cables must not be pinched between the metal profiles.
5. Insert the panel
Slide the panel through the open side until it is fully seated inside the frame. Then install the remaining profile and tighten the screws.
The result should be stable, uniform, and without visible gaps between the parts.
6. Test the operation
After checking the fastenings and connections, restore power. In addition to verifying that the panel turns on, observe it for several minutes to detect any flickering, buzzing, or abnormal heating.
How to Install a Suspended LED Panel
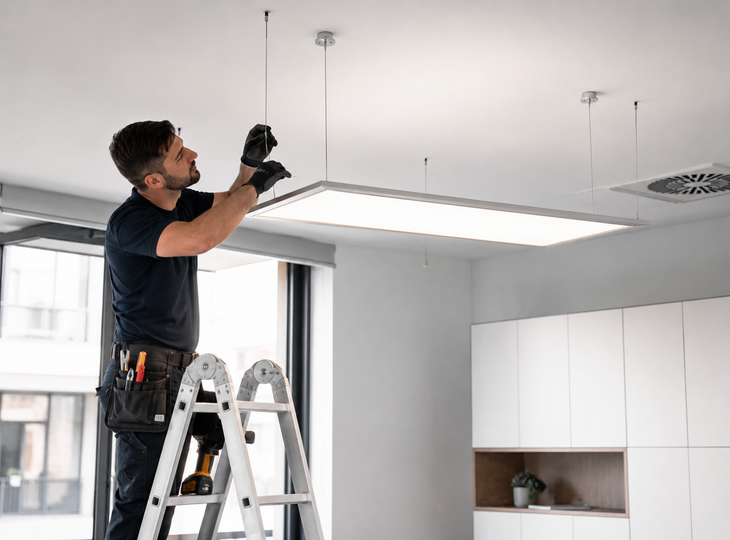
Suspended installation is performed using steel cables, height adjusters, and anchoring elements.
First, mark the positions of the suspension points on the ceiling. The distances must match the panel’s mounting points exactly so that the fixture remains horizontal.
Next, drill holes in the ceiling and install the appropriate anchors. The cables are secured to the upper anchors and then connected to the fittings on the panel frame.
Before making the electrical connection, adjust the length of each cable. It is recommended to use a level to verify that all four points are at the same height.
The driver can be installed on the ceiling, inside a medallion, or in a box designed to conceal the connections. It must not hang directly from the electrical cables.
When the ceiling is particularly high or the panel is located above a walkway, the quality of the anchors becomes even more important. All fasteners must be designed to support the weight of the light fixture with an adequate safety margin.
How to Install an LED Panel on a
Kitchen
Ceiling
To install an LED panel on a kitchen ceiling, first choose a location that allows for even light distribution and avoids shadows over the countertop or main work areas.
In small kitchens, installing a single panel in the center may be sufficient. In elongated or larger spaces, it may be more appropriate to install multiple panels or choose a rectangular model that fits the shape of the room.
Before beginning installation, you must turn off the power, check the type of ceiling, and select the appropriate installation system. You should also verify that there is sufficient space to house the driver and that the anchors are compatible with the ceiling material.
It is recommended to choose a panel with neutral light, as this makes it easier to perform tasks and allows you to accurately perceive the colors of food. Additionally, if the light fixture is located near areas exposed to steam or potential splashes, you should verify that it has an adequate protection rating.
Once the driver is connected and the panel is secured, verify that the light fixture is stable, level, and away from direct heat sources, such as the range hood. Finally, restore power and check that the lighting is uniform and does not flicker.
How to Connect an LED Panel Driver
The driver is one of the most important components of the installation. Generally speaking, the connection follows this diagram:
- The live and neutral wires from the electrical system are connected to the driver’s input.
- The driver’s output is connected to the panel via the corresponding wire or terminal.
- The ground connection is made when the unit has a terminal designated for this purpose and its protection class requires it.
- The dimming wires are connected only if the model includes that feature.
The driver’s output should not be confused with the mains input. Nor should the connectors be cut or modified without first checking the manufacturer’s wiring diagram.
Maintenance of an LED Panel
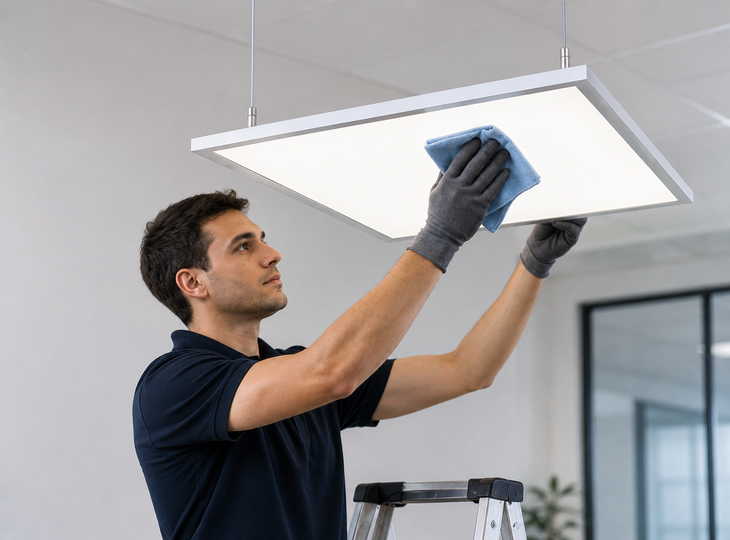
LED panels require little maintenance, but they are not completely free from the need for inspection. Dust buildup on the diffuser can reduce the amount of light emitted and alter its distribution.
Before cleaning the fixture, disconnect the power and wait for the equipment to cool down. The diffuser can be cleaned with a soft, slightly damp cloth, without using abrasive products or solvents.
It is also advisable to periodically check that the panel is securely fastened, that the frame and cables are in good condition, and that there is no flickering, buzzing, or dark spots. Any change in brightness, color, or startup behavior may indicate a failure of the driver or
the LED modules
.
A noticeable reduction in luminous flux, irregular startup, or a change in color may indicate a failure of the driver or the LED modules.
How to Properly Install an
LED Panel
To install an LED panel correctly, you need to plan ahead and choose a mounting system suitable for each type of ceiling. It is also important to use compatible components and follow the manufacturer’s instructions throughout the process.
A properly executed installation ensures uniform, safe, and long-lasting lighting. If you have any questions, it is best to consult a professional.